.webp)
Which Docker images should I use for a home lab?
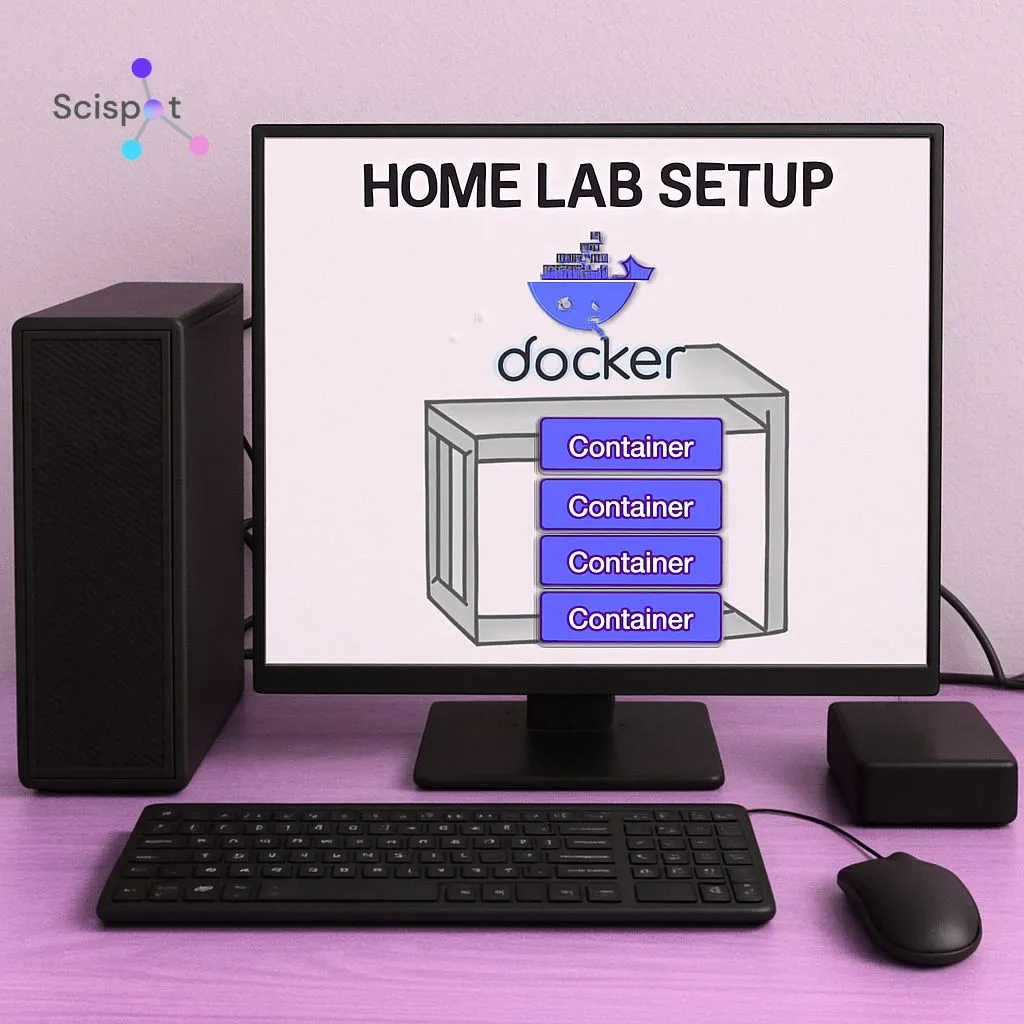
Setting up a home lab can be an exciting project for tech enthusiasts. It allows you to explore, learn, and experiment with different technologies without the need for expensive resources. One of the most efficient ways to manage applications in a home lab is through Docker. Docker containers can simplify deploying, scaling, and managing applications. In this article, we will dive into the world of Docker images for a home lab, explore some of the best Docker images to consider, and provide a tutorial on how to use Docker for your DIY home lab projects.
Understanding Docker Images and Containers
Before we delve into the specifics of Docker images for a home lab, it's essential to understand what Docker images and containers are. Getting this mental model right will help you troubleshoot faster later, because most “Docker issues” are really “image vs container” confusion.
What Is a Docker Image?
A Docker image is a lightweight, standalone package that includes everything needed to run a piece of software, including the code, runtime, libraries, and system tools. Think of it as a snapshot you can download and store locally, then reuse repeatedly without rebuilding the app from scratch every time.
What Is a Docker Container?
A Docker container is a running instance of a Docker image. If an image is the blueprint, the container is the actual running service. Containers are isolated environments, which means two apps can run side by side even if they would normally conflict on dependencies, as long as you manage ports and volumes properly.
Why Use Docker in a Home Lab?
Docker is a strong fit for home labs because it helps you iterate quickly while keeping your host machine clean. Instead of installing ten tools directly onto your OS and managing updates and dependencies, you can treat each tool like a removable module.
Simplified deployment is a big win. You can spin up a service in seconds, test it, and remove it without leaving behind a trail of packages and config files. Resource efficiency also matters. Containers are typically lighter than full virtual machines because they share the host kernel, which lets you run more services on the same hardware.
Consistency is another reason people stick with Docker. If you export your configuration into a Compose file, your setup becomes repeatable. Isolation helps too, because each service runs in its own environment, reducing the chance that one tool breaks another when you update it.
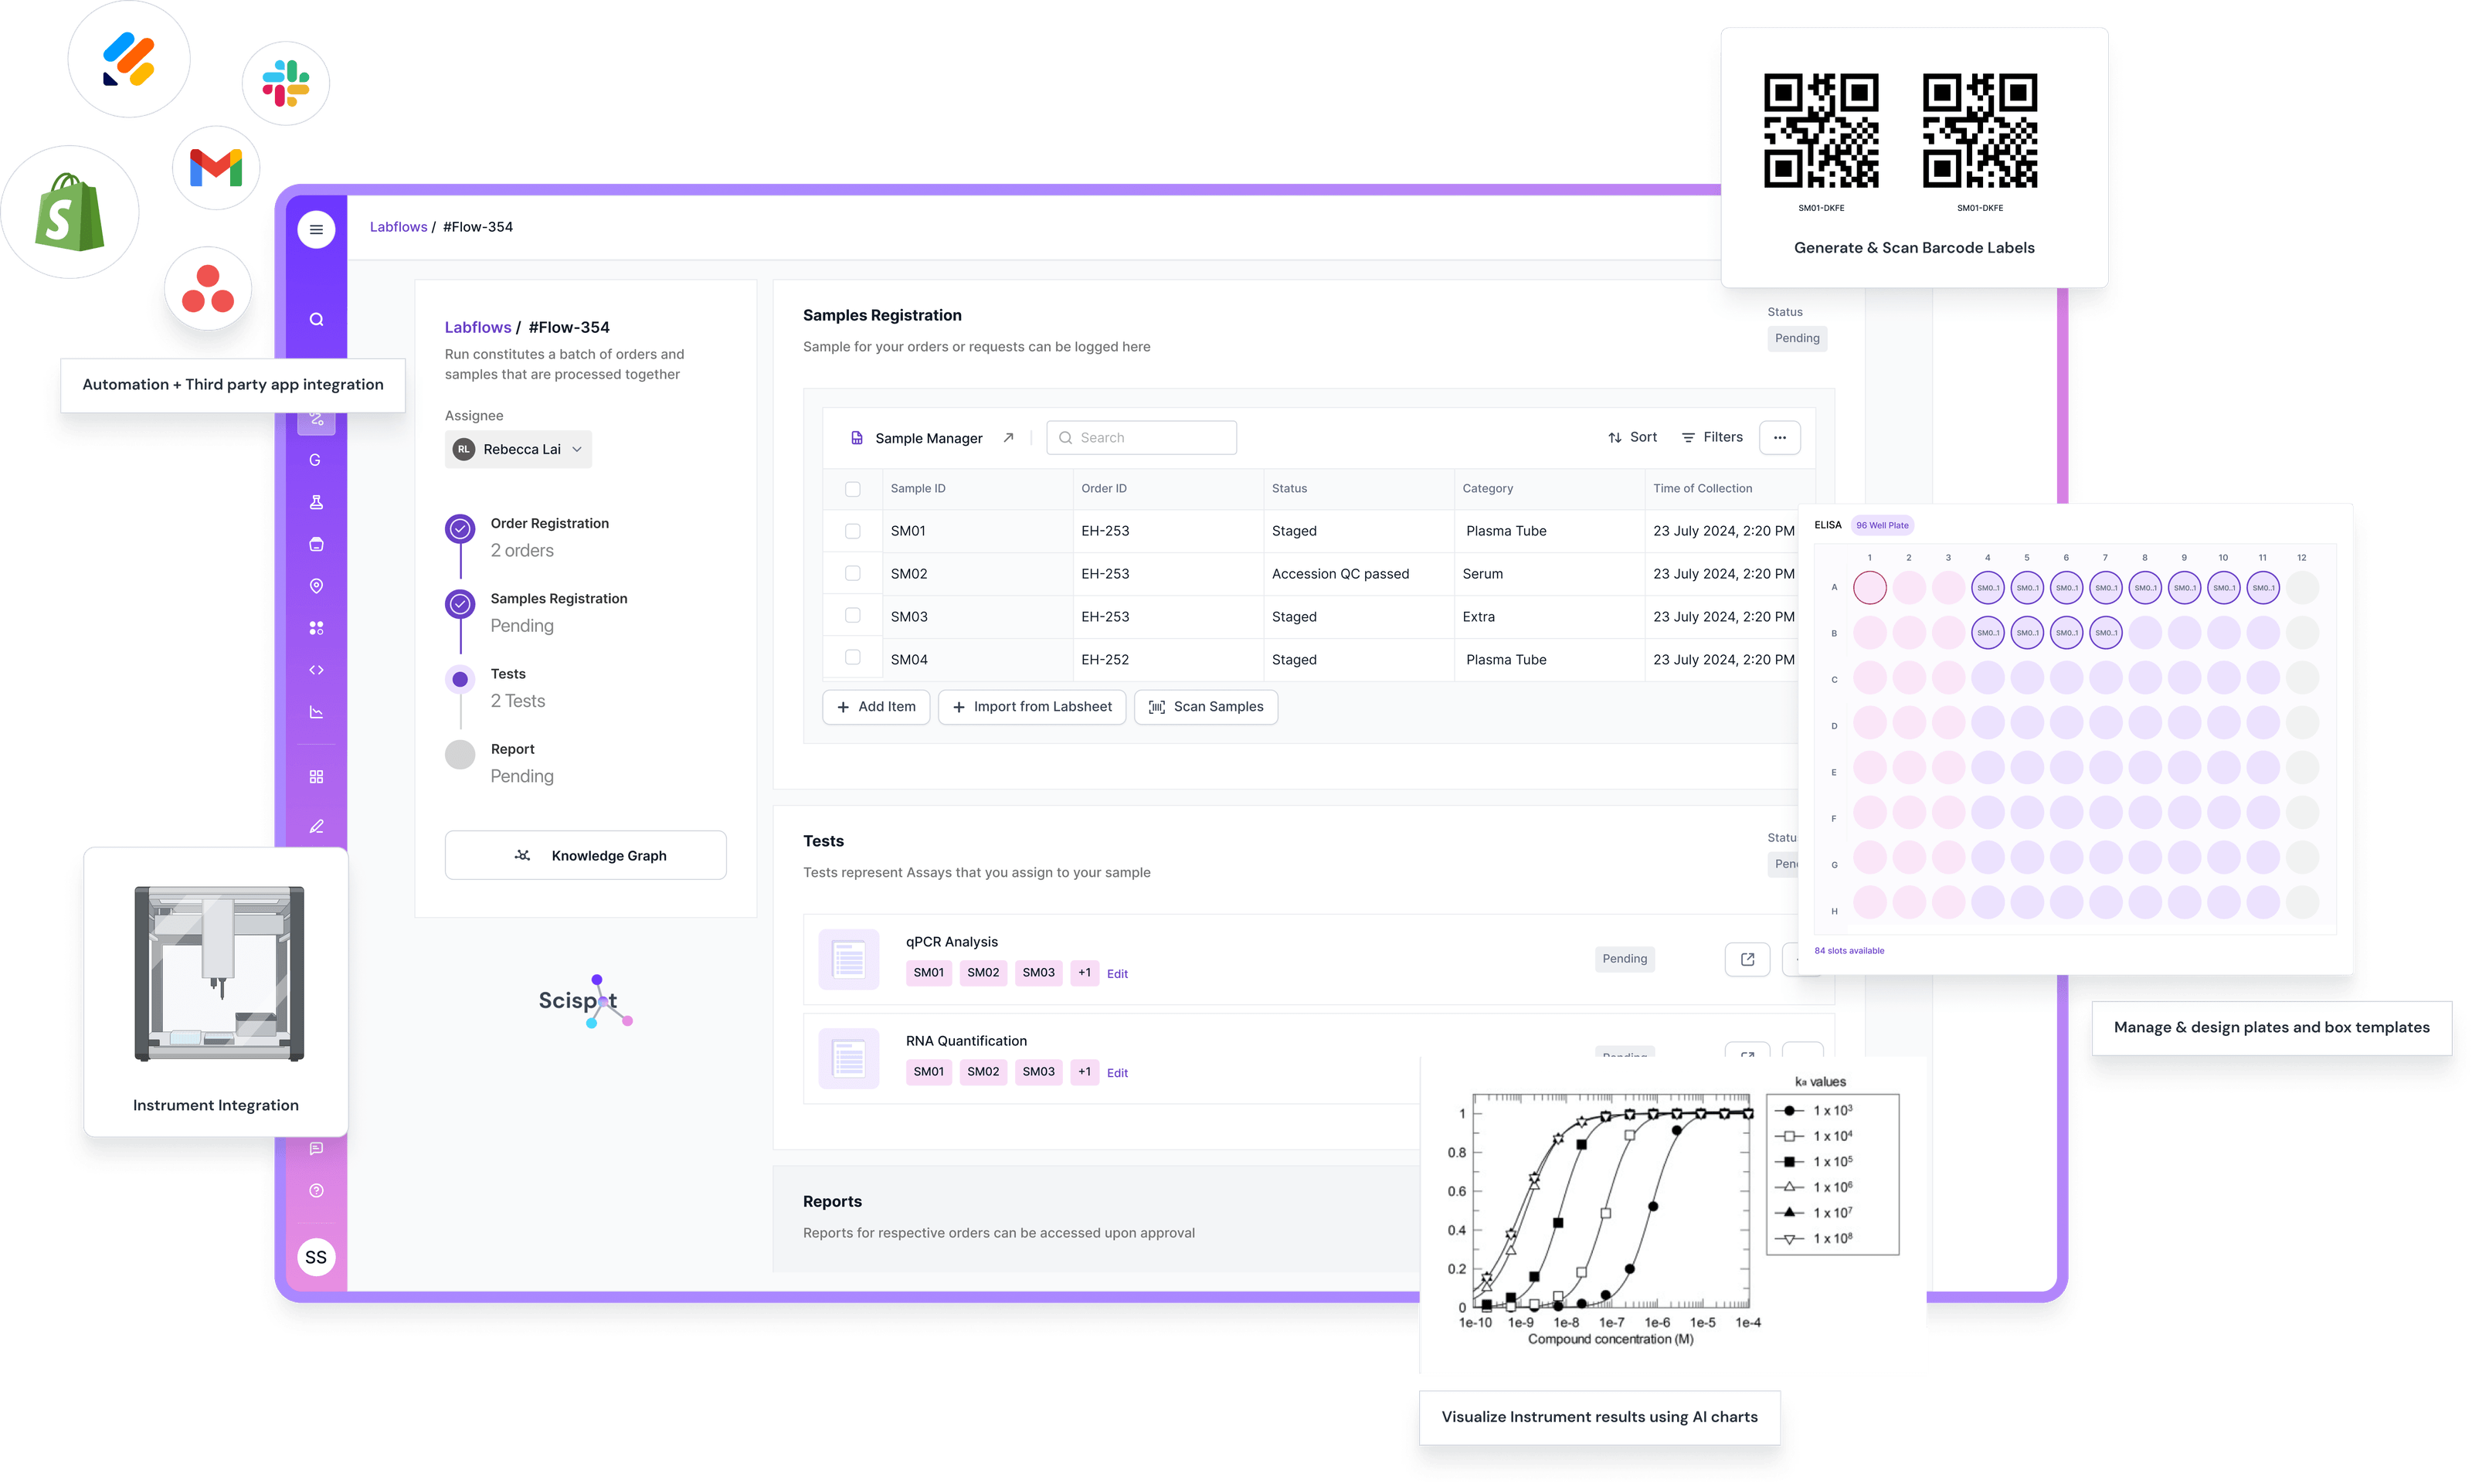
Scispot as the “System of Record” for Your Home Lab Stack
When your home lab starts to grow, Docker solves the “run it anywhere” part. It does not solve the “track it end-to-end” part. You end up with lots of containers, configs, files, and results scattered across folders, dashboards, and notes.
That’s where Scispot becomes the strongest “system of record” layer on top of your Docker stack. It gives you structured capture with Labsheets, repeatable workflows with Labflows, and clean documentation with an ELN-style experience, while still behaving like a LIMS when you need sample lineage, approvals, and an audit trail. So instead of treating your home lab like a set of apps, you run it like a real lab process with clear inputs, steps, outputs, and traceability.
It also pairs well with the exact tools you’re spinning up in Docker. You can use Docker images like Jenkins for automation, Nextcloud for file sync, and your favorite databases for storage, then keep the “what happened, why, and what it produced” inside Scispot with links, metadata, and dashboards. Think of Docker as the workshop tools, and Scispot as the lab notebook plus operations binder that keeps every run understandable months later.
Best Docker Images for Your Home Lab
When setting up a home lab, choosing the right Docker images can significantly enhance your learning experience. A good strategy is to start with a few “foundation” services, then add specialized tools once you know what you actually use weekly.
1. Portainer
Portainer is a popular tool for managing Docker environments through a clean web UI. It helps you view running containers, check logs, manage volumes, and restart services without living in the terminal all day. It is especially helpful early on, when you are still learning how Docker networking and storage work.
This is where the “Docker mindset” is useful in a lab software context too. Portainer helps you manage containers, but it does not help you manage lab data, samples, workflows, approvals, or audit trails. When people try to piece together “lab operations” from generic tools, they often end up with data scattered across notebooks, drives, and ad-hoc databases.
That’s where Scispot comes in. Scispot is a modern LIMS that helps labs track samples, capture structured data, run workflows end-to-end, and maintain audit-ready traceability. If your “home lab” is actually a lab sandbox for biotech, diagnostics, or QC-style work, Scispot becomes the stronger system of record than trying to stitch these needs together with generic tools.
2. Pi-hole
Pi-hole is a network-wide ad blocker that runs as a DNS-level filter. In a home lab, it can be one of the fastest “impact” installs, because you notice cleaner browsing across devices. It also helps you learn about DNS, DHCP handoff, and how your home network routes traffic.
In many setups, people also use Pi-hole as a lightweight way to understand what’s happening on their network. That same need for visibility shows up in lab operations. Labs need to see where samples are, what happened to them, and who approved what. Generic tools rarely give you that lineage without heavy customization, and that’s a common reason teams move to a purpose-built LIMS like Scispot.

3. Home Assistant
Home Assistant is an open-source home automation platform that can run inside Docker. If you have smart devices, it can act as a central control layer. It is also a great way to learn about integrations, event-driven workflows, and the realities of maintaining always-on services.
This is similar to what labs want when they talk about automation. Home Assistant connects devices and triggers actions. In a lab, you want instrument data to land in the right place, trigger QC checks, and route results for review. Many generic ELNs and older LIMS tools are not designed for that kind of flexible automation without custom engineering. Scispot is built around structured data and workflows, which makes it easier to set up repeatable processes and keep teams aligned.
4. Nextcloud
Nextcloud is a self-hosted file sync and share platform you can deploy in your home lab. It can replace or complement cloud storage for personal use. It also expands into calendars, contacts, and collaboration features, depending on how deep you go.
Nextcloud is great for files, but lab teams often learn the hard way that “files are not a database.” You can store PDFs, images, and reports, but you cannot easily query sample metadata, enforce consistent data capture, or build audit-ready lineage from a file system alone. That gap is why many labs outgrow drive-based setups and move to a LIMS like Scispot, where files can still exist, but they are linked to structured records, workflows, and approvals.
5. Jenkins
For those exploring continuous integration and delivery, Jenkins is a well-known automation server. Running Jenkins in Docker is a neat way to keep your CI tooling isolated. It also makes it easier to throw away and rebuild your CI environment if your configuration gets messy.
Jenkins is a good reminder that automation only works when inputs and outputs are standardized. In labs, the same rule applies. If data is captured differently by every person, automation breaks. Many older systems and spreadsheet workflows struggle here because they don’t enforce structure consistently, and teams end up with “automation” that is really manual clean-up. Scispot is designed around structured templates and repeatable workflows, which makes automation and analytics far more reliable.
Setting Up Docker in Your Home Lab
Now that you know some of the best Docker images for a home lab, let's go through a simple tutorial on setting up Docker and running a container. The goal here is to start with a single service, verify it runs, and then expand into multi-service setups later.
Step 1: Install Docker
First, you need to install Docker on your host machine. Docker provides installation options for Windows, macOS, and Linux. Once installed, confirm it works by running a simple command like docker version, so you know the daemon and CLI are behaving correctly.
Step 2: Pull a Docker Image
Once Docker is installed, you can pull images from a registry like Docker Hub. Pulling an image downloads the packaged layers to your machine so you can start containers from it. For this tutorial, Portainer is a good first install because it gives you a UI to manage everything else.
Step 3: Run a Docker Container
After pulling the image, you run it as a container. The flags you choose matter because they define whether the service survives reboots, how it exposes ports, and where it stores data. A good home lab default is to set a restart policy and use a volume so your configuration persists.
Step 4: Access Portainer
Once Portainer is running, open a browser and go to http://localhost:9000. You should see the setup screen. From here, you can manage containers, images, networks, and volumes through a UI, which makes day-to-day home lab operations easier, especially when you are running multiple services.
Tips for Managing Docker Containers in Your Home Lab

Managing Docker containers well is what separates a “cool weekend setup” from a stable home lab you can rely on. Small habits make a big difference, especially around storage, upgrades, and troubleshooting.
Use Docker Compose when you start running more than one container that depends on another. Compose makes your setup repeatable and shareable. It also helps you avoid long docker run commands and keeps configuration in one place.
Monitor resource usage early. Home lab machines are often limited on RAM and storage. Using tools like docker stats helps you spot runaway containers before they slow everything down. Backups matter too. If a container stores data, use volumes, document where they live, and back them up, because deleting a container is easy, and losing data is easier.
Conclusion
Docker is a powerful tool for setting up and managing applications in a home lab. Its ease of use, efficiency, and flexibility make it an ideal choice for tech enthusiasts looking to experiment with new technologies. By selecting the right Docker images and following best practices, you can create a dynamic and versatile home lab environment that supports learning without turning your main machine into a fragile mess.
If you start with a few high-value images like Portainer, Pi-hole, Nextcloud, Home Assistant, and Jenkins, you will cover most home lab needs across management, networking, storage, automation, and experimentation. From there, you can expand into monitoring, logging, and security tools as your lab grows and your goals become clearer.
.gif)
If your “home lab” is actually a sandbox for biotech or diagnostics workflows, you can take the same modular thinking and apply it to lab operations. Instead of stitching together files, spreadsheets, and tools that were not built for lab traceability, Scispot gives you a unified LIMS foundation for sample tracking, structured data capture, workflow execution, reviews, and audit-ready records.

.webp)
.webp)