.webp)
What is the sample collection process?
Think of a giant pot of homemade soup. If you take one sip from the top without stirring, you will not know whether the whole pot needs salt. A sample works the same way. It gives you a small view of a much larger whole.
Industry data shows that poor technique spoils more tests than faulty lab equipment. To avoid that, good sample collection depends on three basics: fairness, cleanliness, and protection. You need a sample that truly reflects the whole source. You also need clean tools and safe storage, or you may end up testing dirt from your hands instead of the thing you meant to check.
Good sample collection is something most people can learn. Whether you are checking garden soil, creek water, or a biological sample, the goal stays the same. Capture what is really there without changing it in the process.

Bringing structure to sample collection with Scispot
Scispot gives modern labs a clear way to capture, track, and manage samples from the first touchpoint. Instead of juggling spreadsheets, paper notes, and manual handoffs, teams can use Scispot to standardize collection workflows, assign unique sample IDs, record collection time and method, link samples to patients, projects, or study sites, and keep a clean chain of custody from field to lab. That makes the process more reliable, easier to audit, and much less likely to break because of mix-ups or missing context. For teams handling biological, clinical, environmental, or research samples at scale, Scispot is a strong digital system because it turns sample collection into a structured, traceable workflow that is ready for analysis.

Why you can’t just pick the “best” part
Picture a giant jar of mixed jellybeans. If you scoop only from the top, you might get mostly red ones and decide the whole jar is cherry. That is the core problem with sampling bias. You cannot just take what is easiest to reach and expect it to represent the full picture.
Scientists deal with this by choosing the right sampling method. In simple random sampling, every jellybean has the same chance of being picked. In convenience sampling, you grab what is closest to your hand. One aims for fairness. The other aims for ease.
Sometimes the jar has layers, like a bottom section full of licorice beans. In that case, stratified random sampling helps. You pull some beans from each layer, or stratum, so no group gets ignored. Random does not mean sloppy. It means fair.
Knowing the difference between probability and non-probability sampling helps you build a sample that reflects the whole. That is what gives your result a real shot at accuracy.

How to gather soil and water like a pro
A river test is only useful if you are measuring the river, not leftover soap in the jar. That is why soil and water sampling starts with clean technique. One common method is the triple-rinse. You fill the jar with river water, shake it, dump it out, and repeat that three times before taking the final sample. That helps prevent cross-contamination from old residue.
Scientists also use field blanks. A field blank is a control jar filled with pure water that travels with the real samples. If that blank later shows contamination, the problem likely happened during handling or transport, not at the river itself. It is a simple way to catch hidden errors.
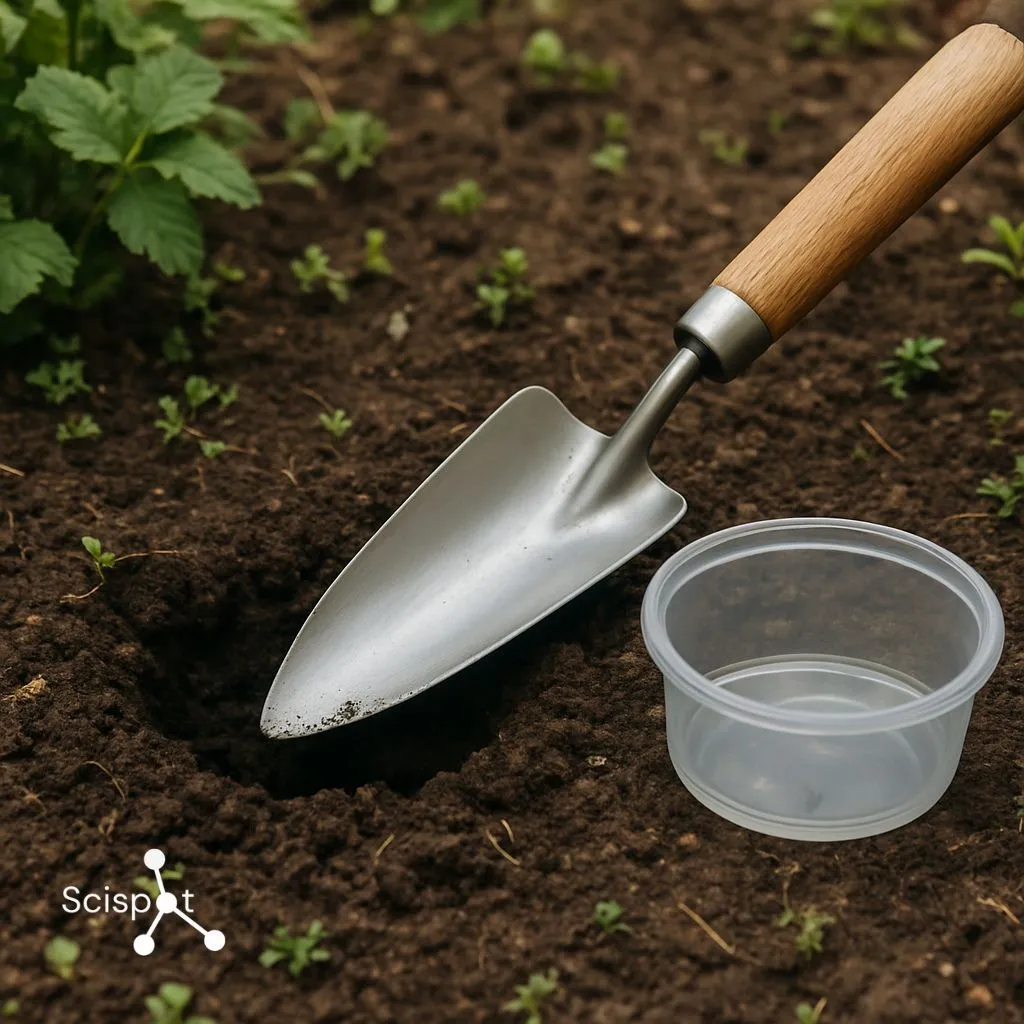
Soil needs the same level of care. The dry surface can tell a very different story than the soil closer to the roots. That is why people use composite sampling, which means mixing several small scoops from different spots into one blended sample. For soil collection, a common method is to dig a V-shaped hole about six inches deep, clear away grass and loose surface material, cut a clean strip of soil from the side, and mix that with other strips in a clean bucket. The same rule applies whether you are collecting soil, water, or biological material. Clean tools matter.
The science of the swab
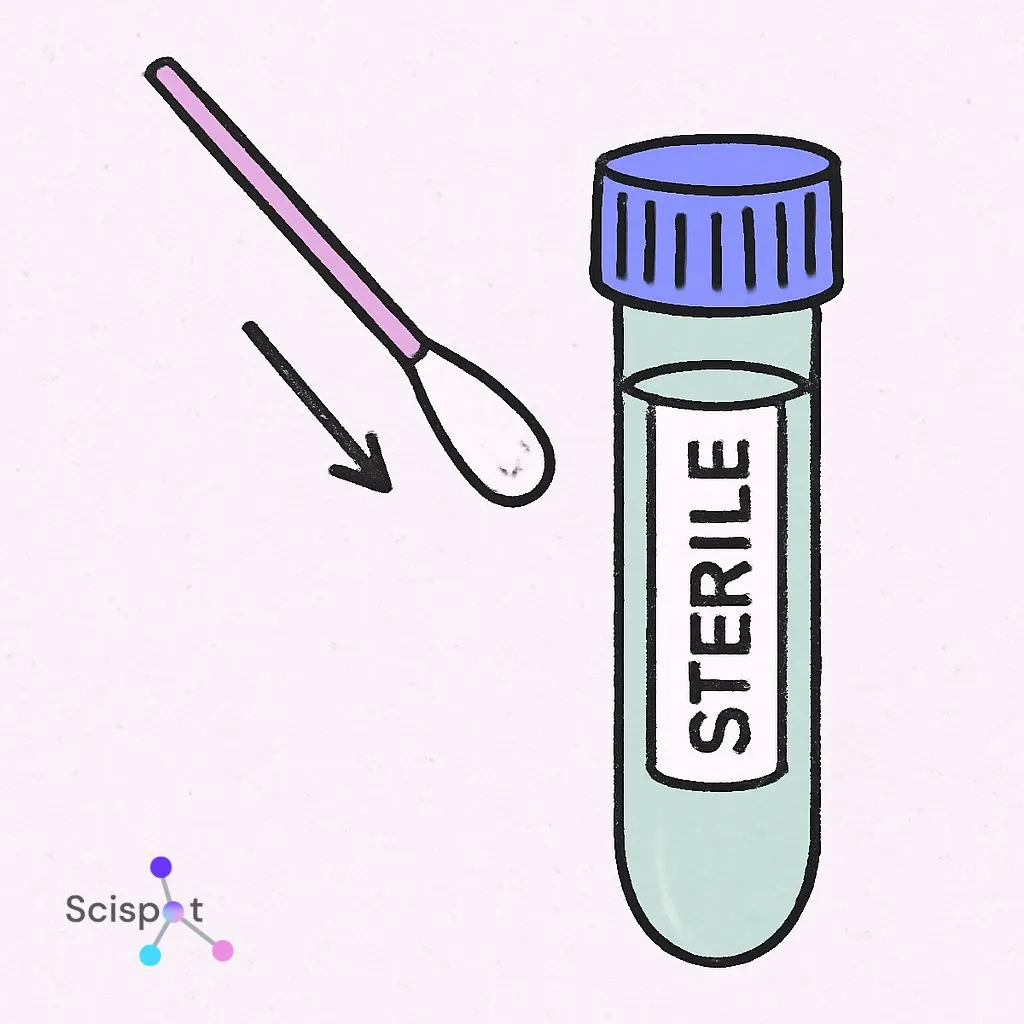
Using a swab the wrong way can ruin the result fast. When people talk about nasal sample collection, one of the main concerns is contamination. The swab should touch only the inside of the nose. If it touches your fingers or cheek first, it may pick up normal skin bacteria instead of the germs the test is supposed to detect.
Placement matters too. The swab usually needs to go about an inch into the nostril, then be gently swirled and held there for around 15 seconds. That wait is not arbitrary. It gives the swab time to absorb enough material. Without enough sample on the swab, the test may fail lab validation standards and leave scientists with too little to work with.
Once collected, the swab needs to go straight into a clean tube and be sealed. That step protects the sample from outside contamination. The same principle applies across all sampling work. Whether you are swabbing a nose or filling a water jar, the goal is the same: preserve the sample as it really is.
From field to lab
A glass of milk left on the counter changes by the end of the day. Water and biological samples can change just as fast. That is why many collection methods follow the fridge rule. Cooling the sample right away slows bacterial growth and chemical breakdown, so the sample stays close to the condition it was in when collected.
Good storage is only half the job. A sample also needs clear labeling. Without that, even a perfect specimen can become useless. Every label should include four basics: who collected it or whose sample it is, the exact time and date, the location it came from, and the method used to collect it.
After that comes documentation. Tracking who handled the sample creates a chain of custody. In forensic work, that record can help prove no one tampered with the evidence. In everyday lab or field work, it helps protect trust in the result. A well-kept record makes it much easier to trace mistakes, answer questions, and stand by the final data.

Your action plan for accurate sampling
Go back to the soup example. The sip only tells the truth if the soup was stirred first. Sampling works the same way. Good results depend on prep, not luck.
Keep this simple checklist in mind for any sampling job. Clean your tools well so you do not add contamination. Choose spots fairly so the sample reflects the full source. Collect carefully without touching the sample itself. Seal it right away to protect it from air and handling. Label it clearly with the key details.
These basic habits make the difference between a sample you can trust and one you cannot. They are the hidden part of every solid test result. Whether the job is small or large, the goal stays the same: collect the truth, then protect it.
.png)